🎯 Quick Take: Capturing clean vocal tracks is essential for voice actors, singers, podcasters, and content creators. This guide provides actionable techniques to minimize unwanted noise, enhance vocal clarity, and produce professional-quality recordings from your home studio.
Your Guide to Clear, Polished Vocals
Breathing sounds, mouth clicks, and background noise can ruin an otherwise great vocal take. Whether you’re tracking in Pro Tools or recording at home, capturing clean vocal tracks requires a combination of technique, environment, and editing tools. This guide will walk you through the best practices to ensure your recordings sound polished from the start—no post-production wizardry required.
1. Why Your Vocal Environment Matters
A controlled recording space is crucial for reducing ambient noise and achieving clean vocals.
Start with these environmental upgrades:
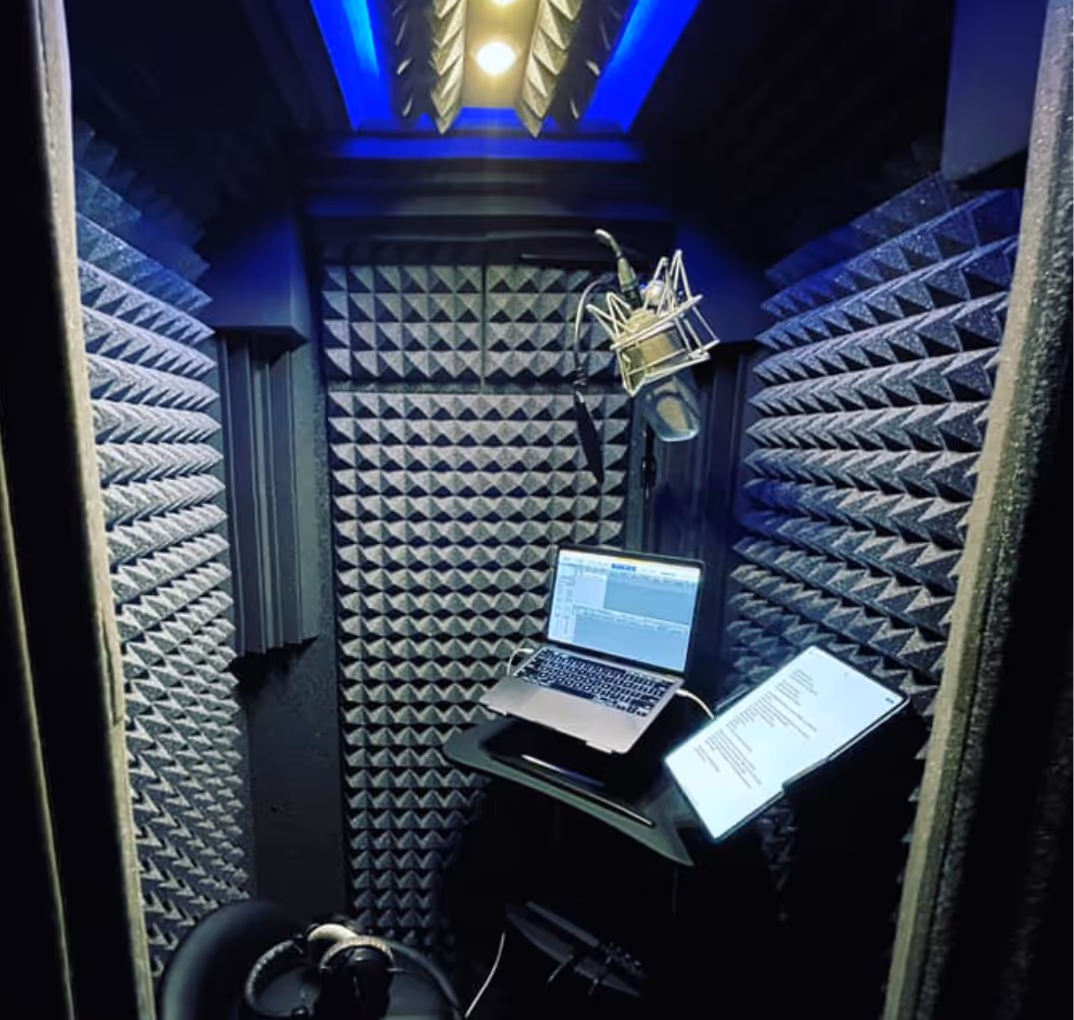
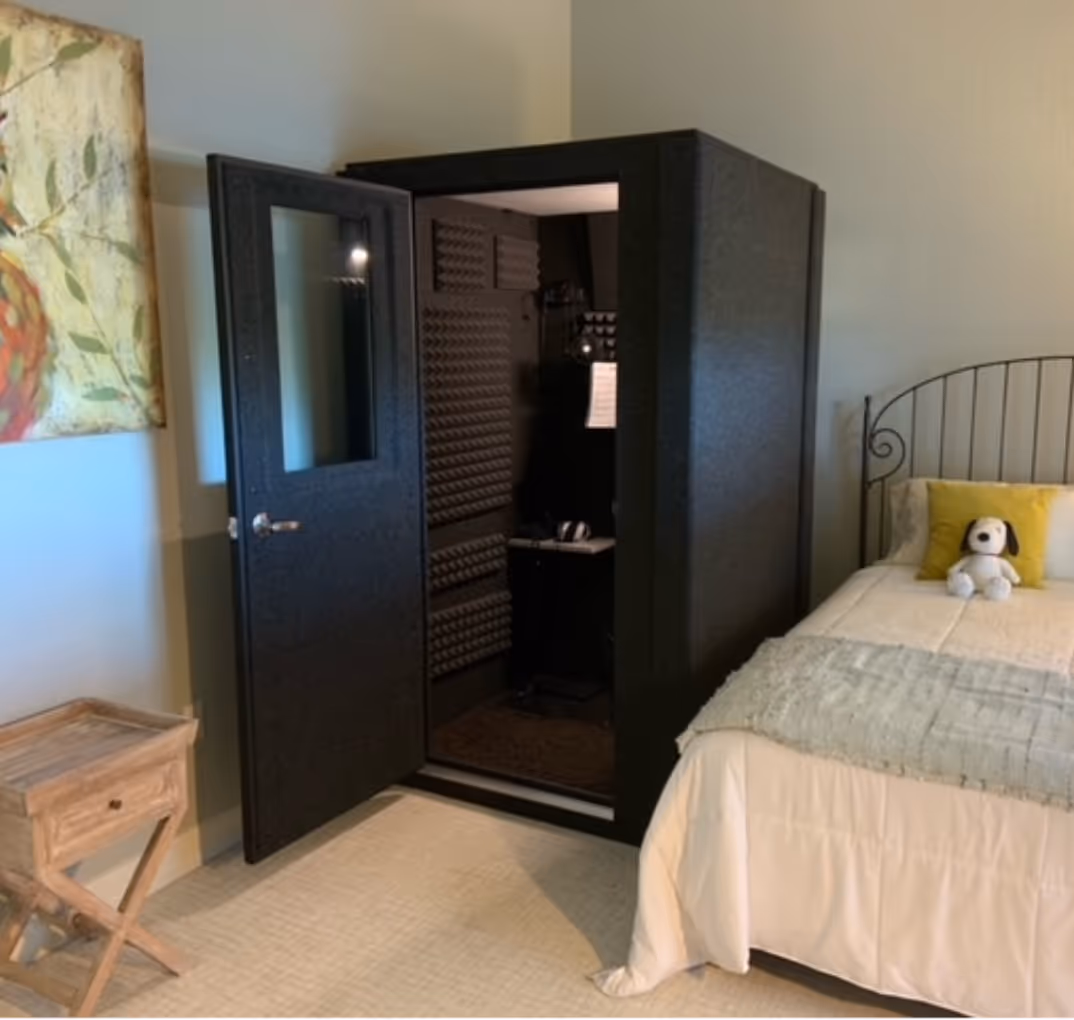
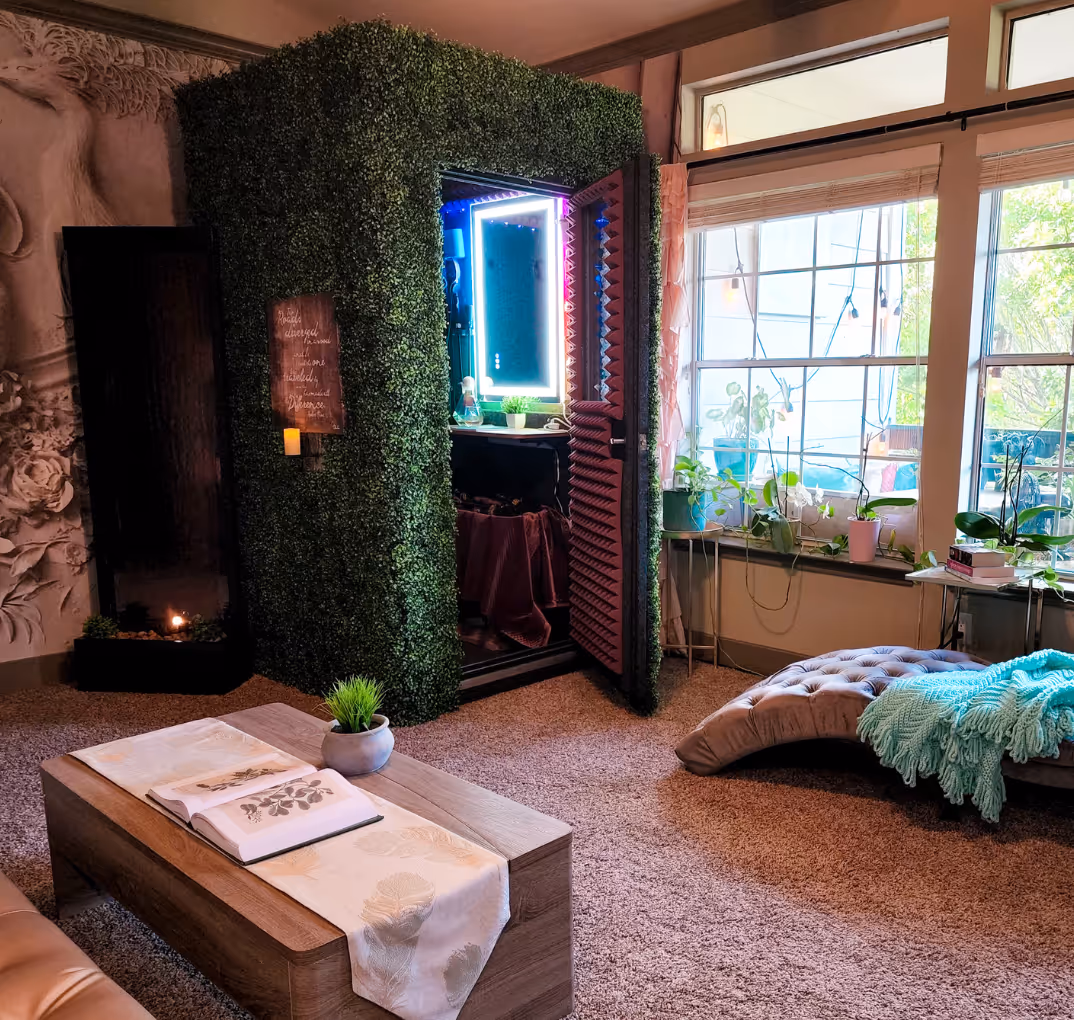
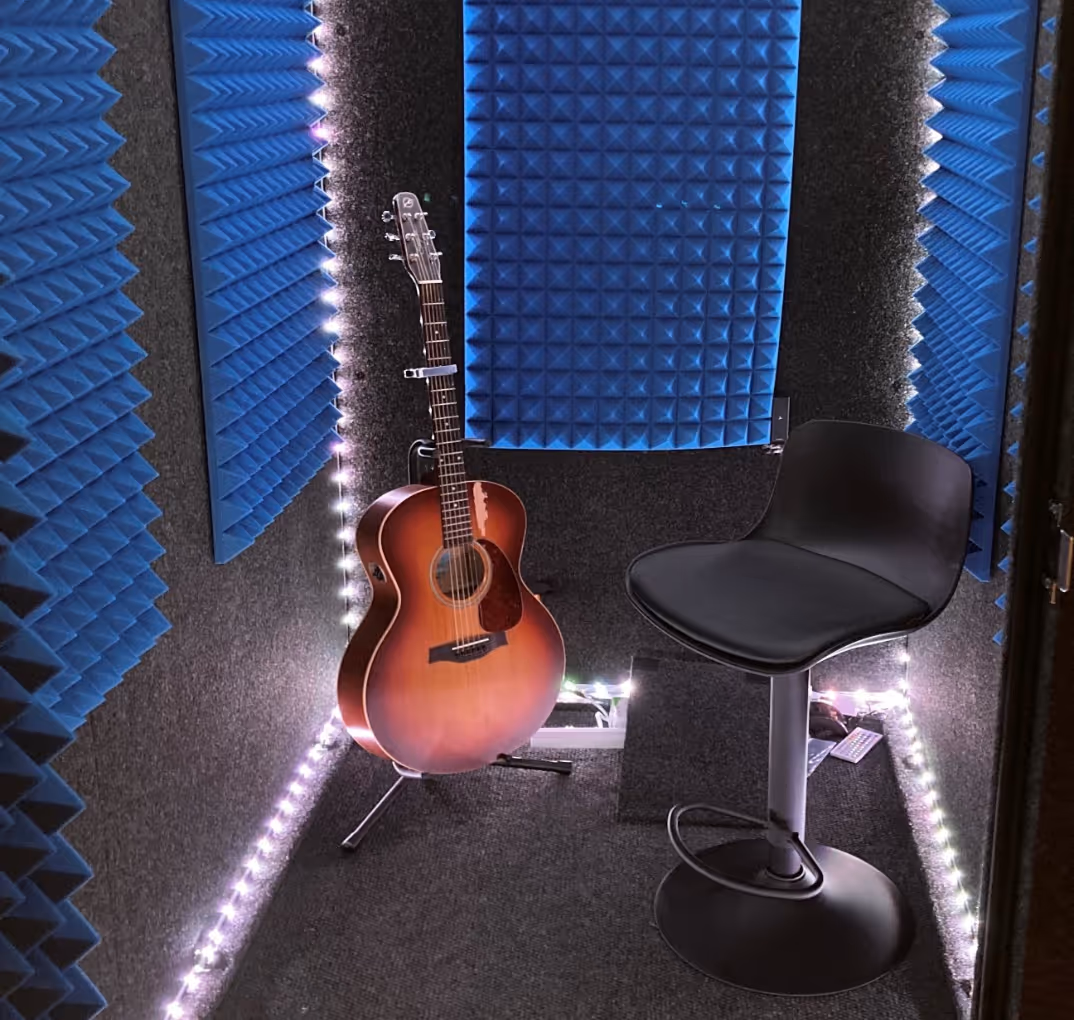
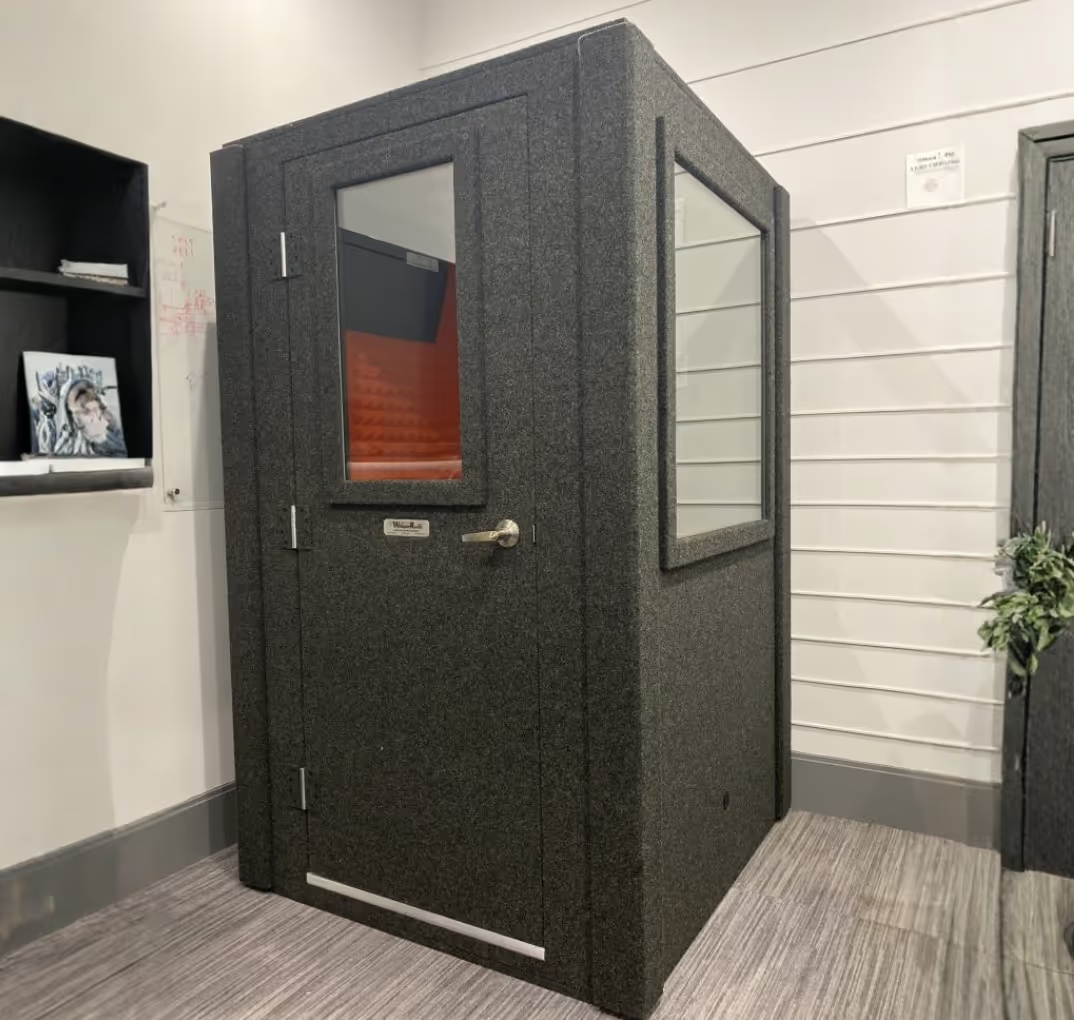
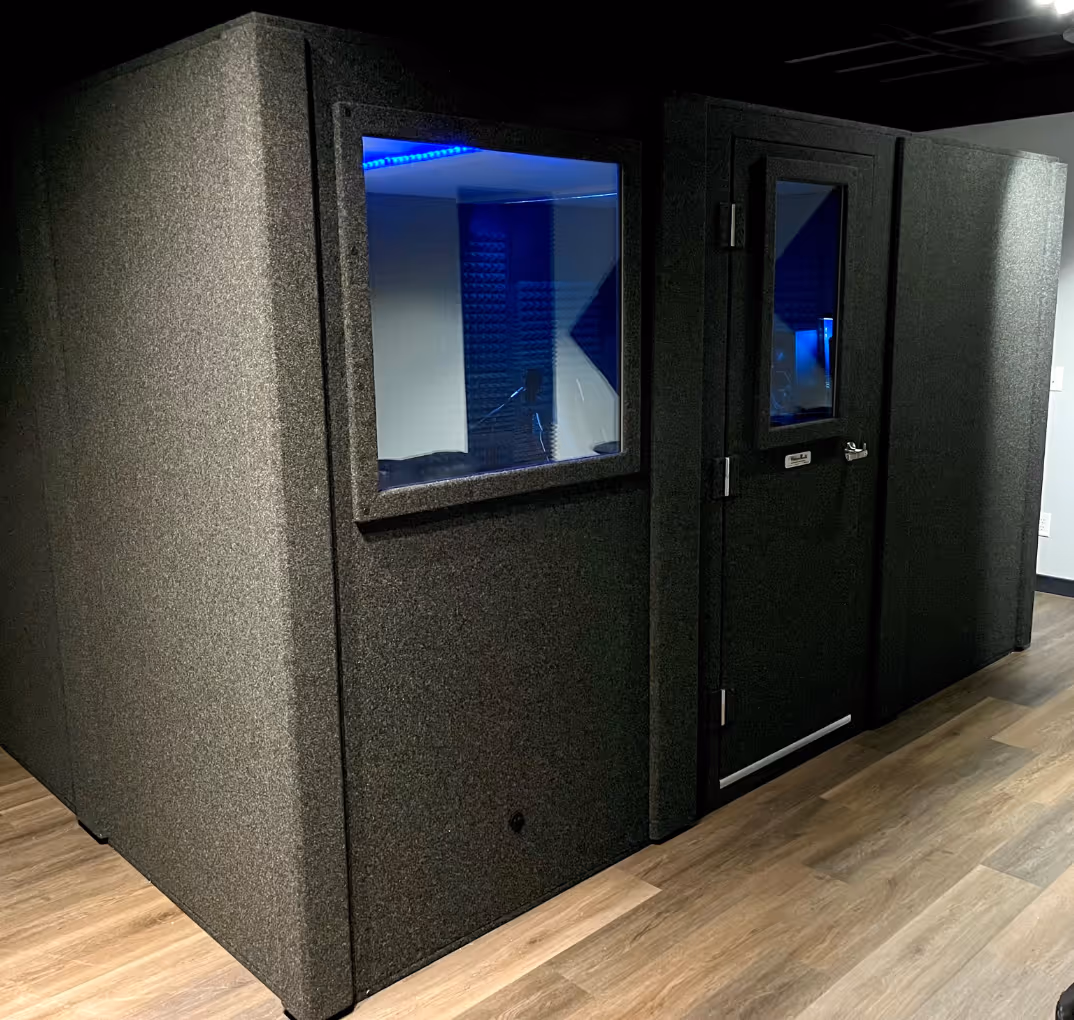
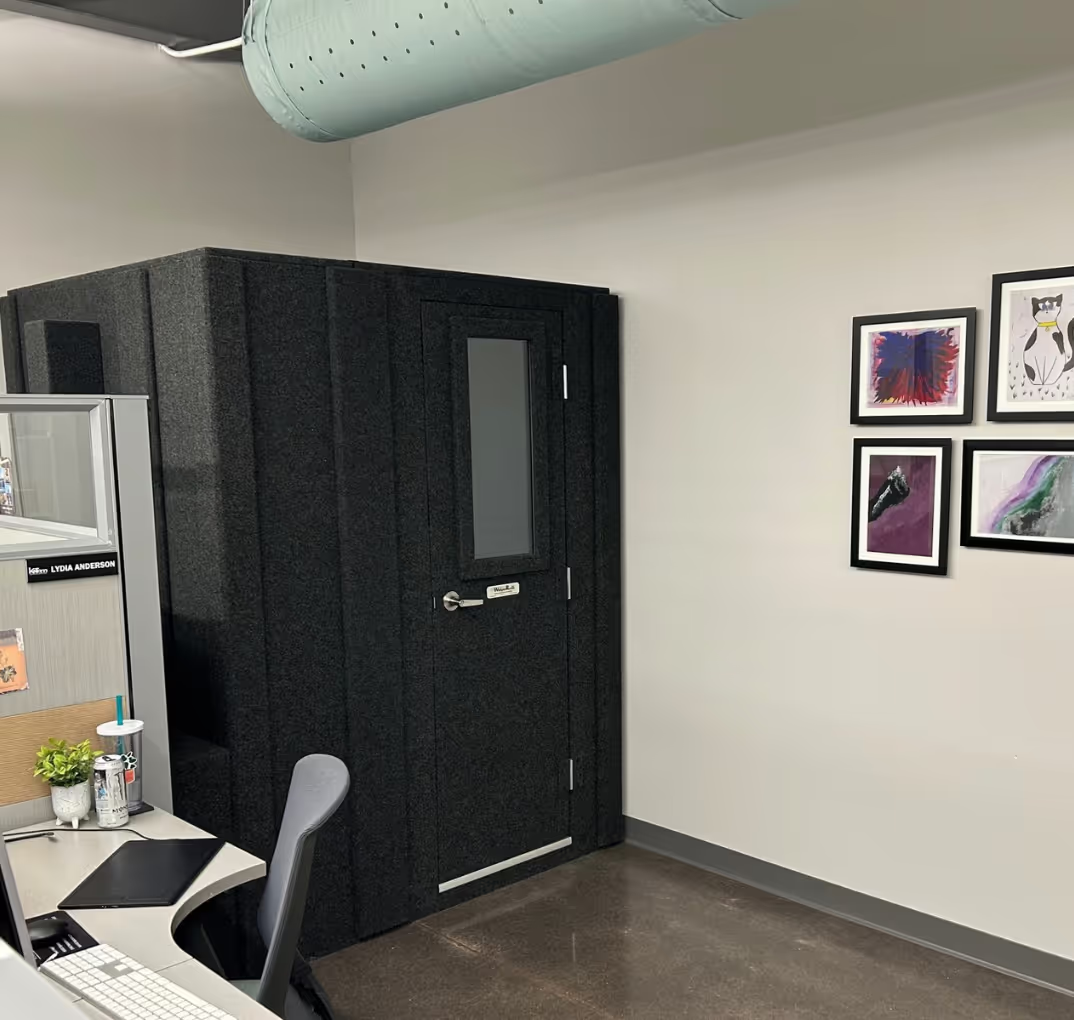
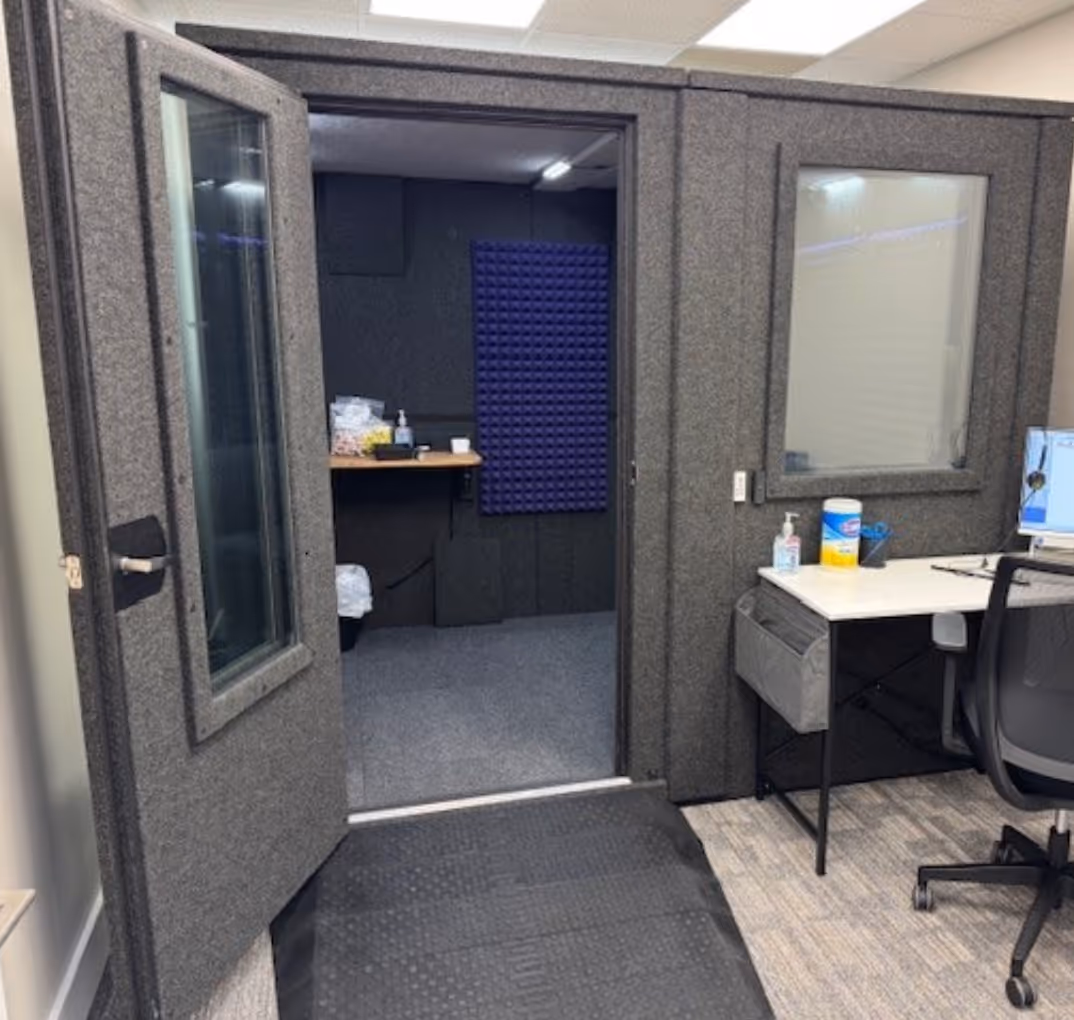
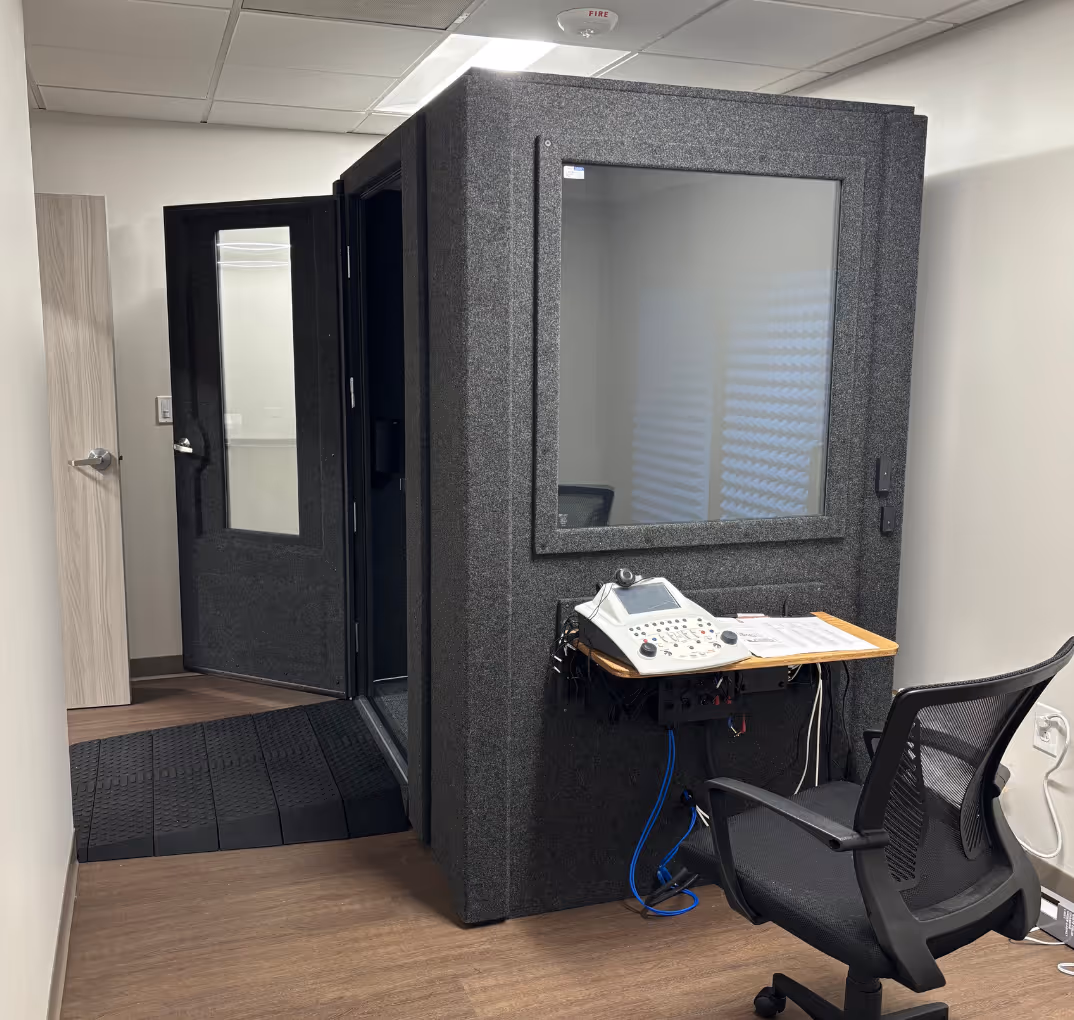
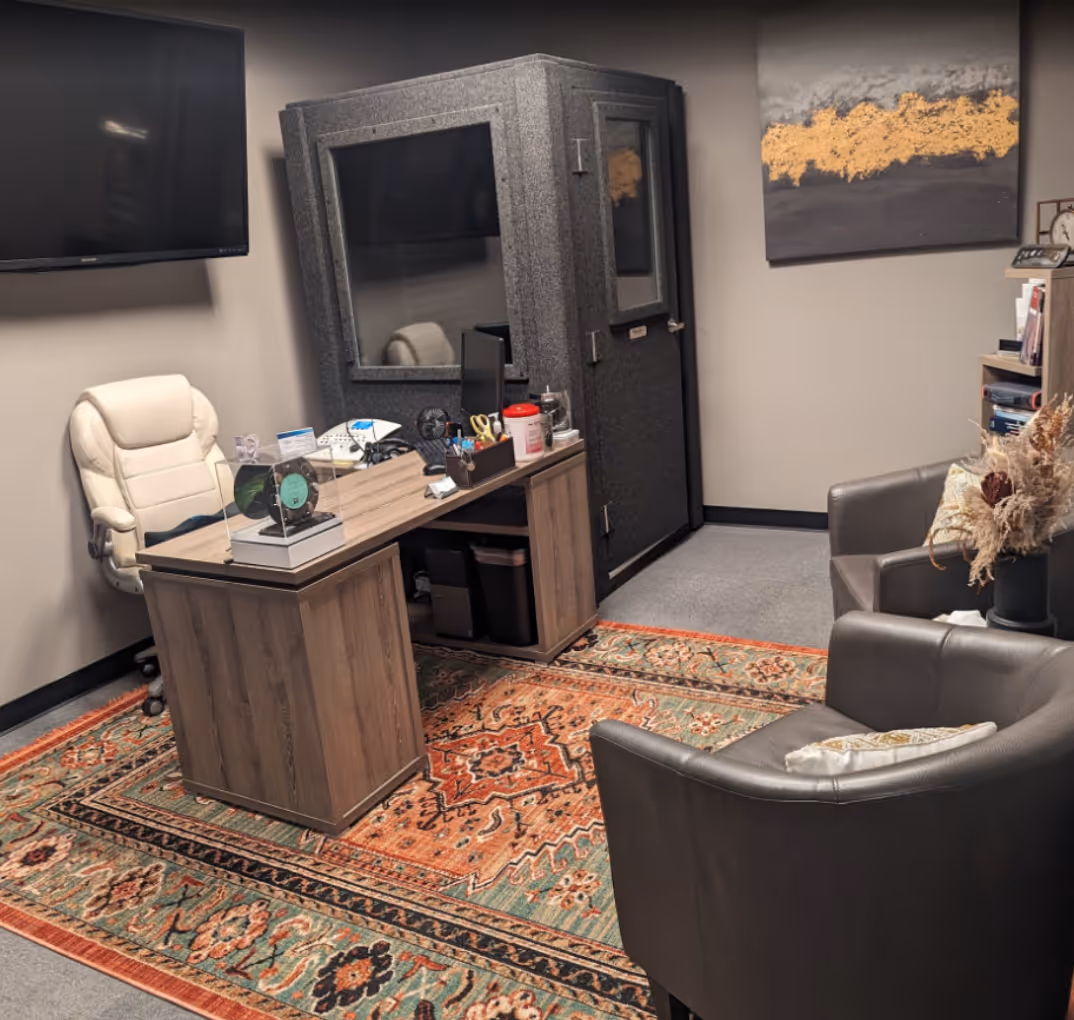
- 🛑 Record in a quiet, treated room to reduce external sound
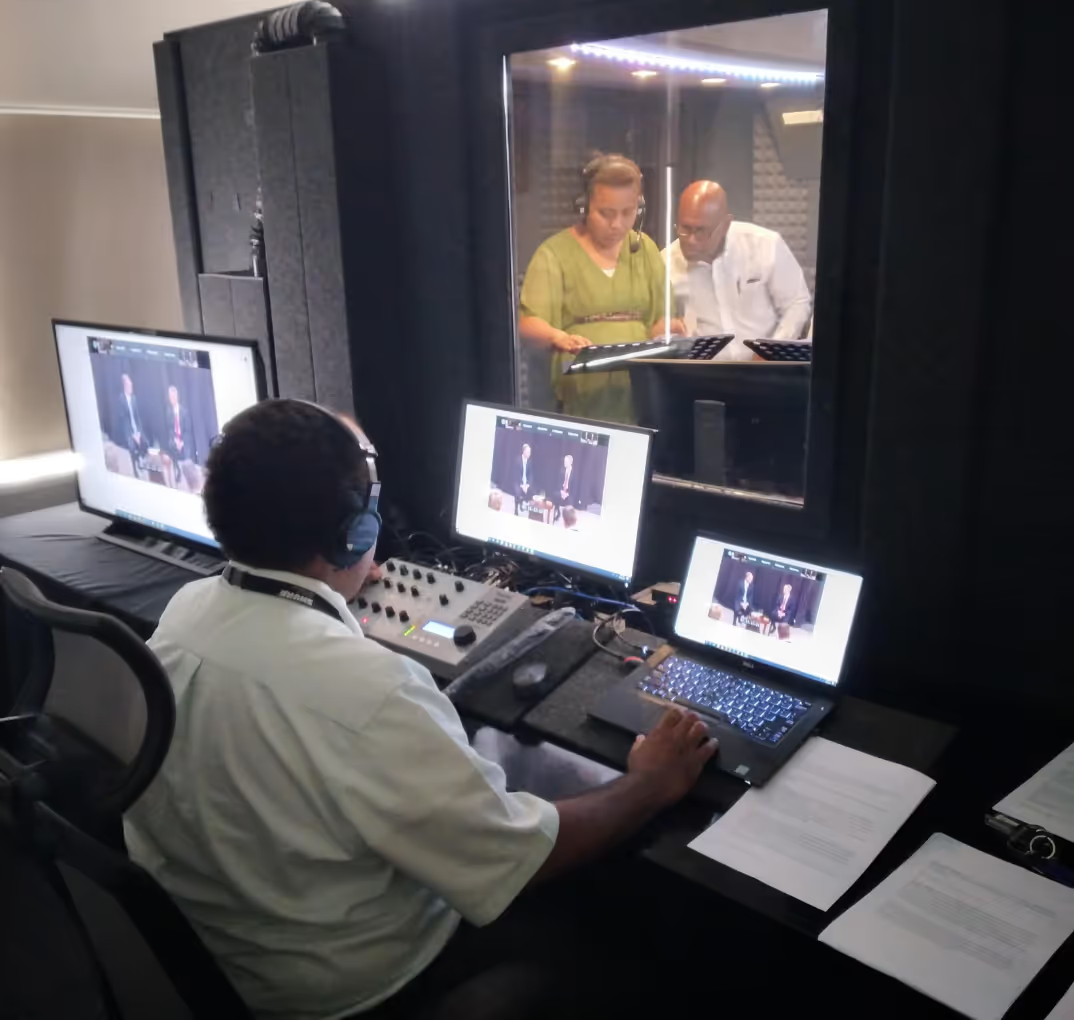
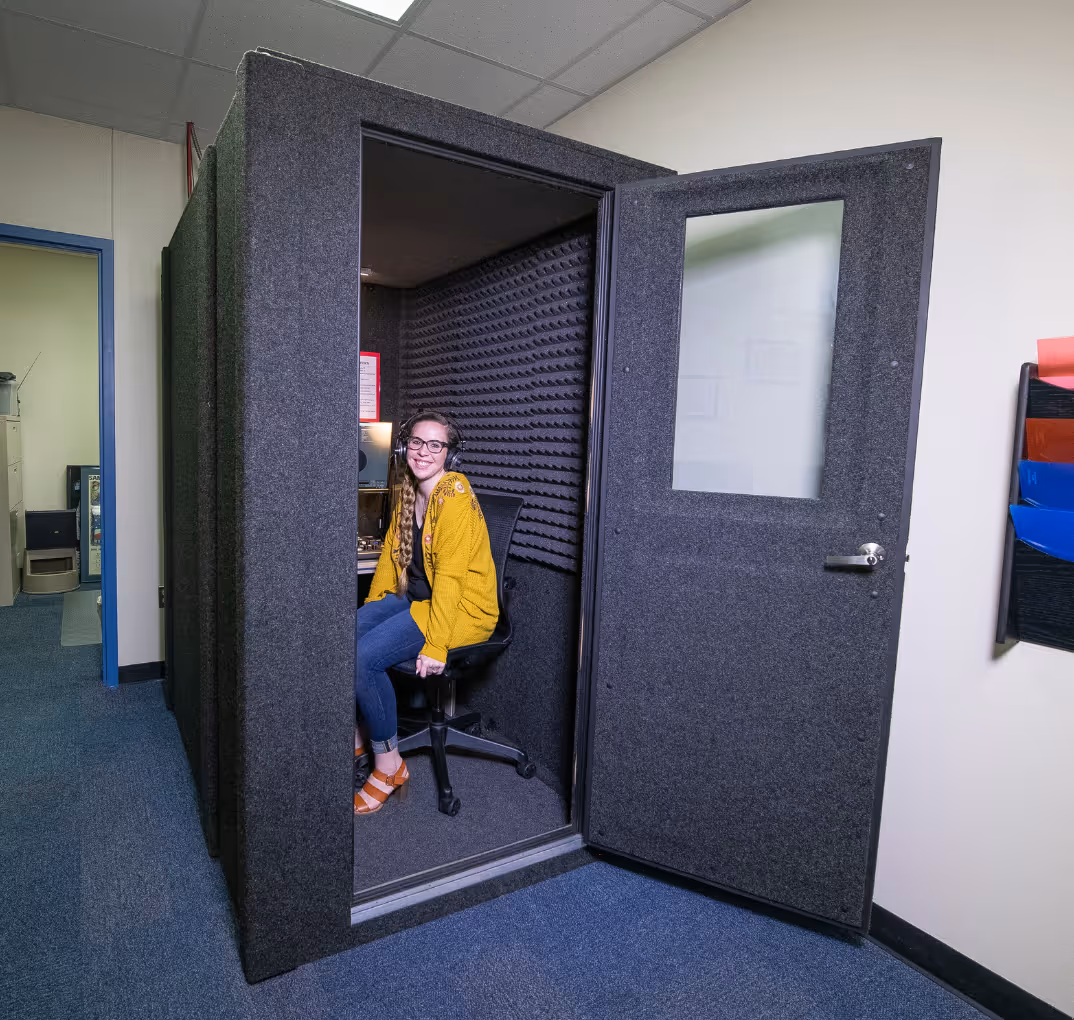
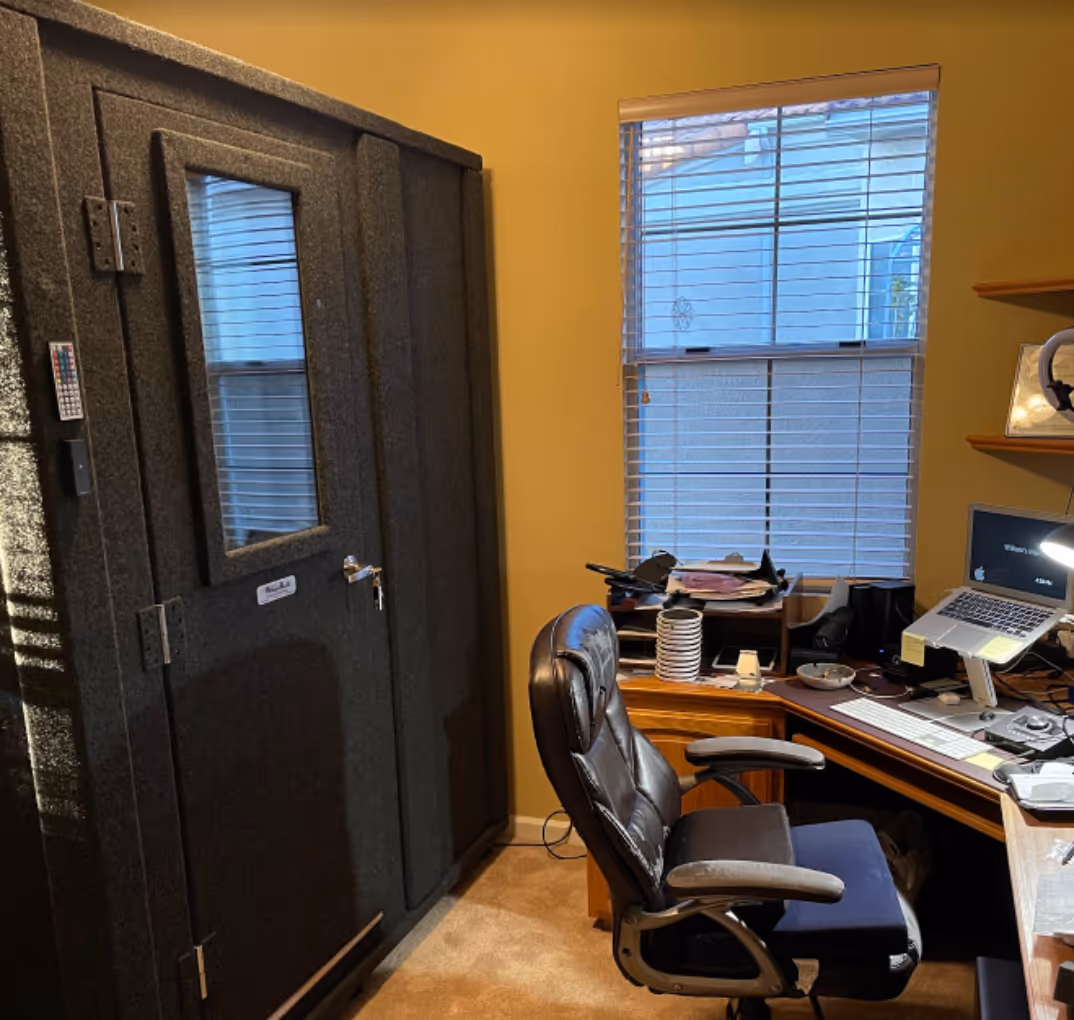
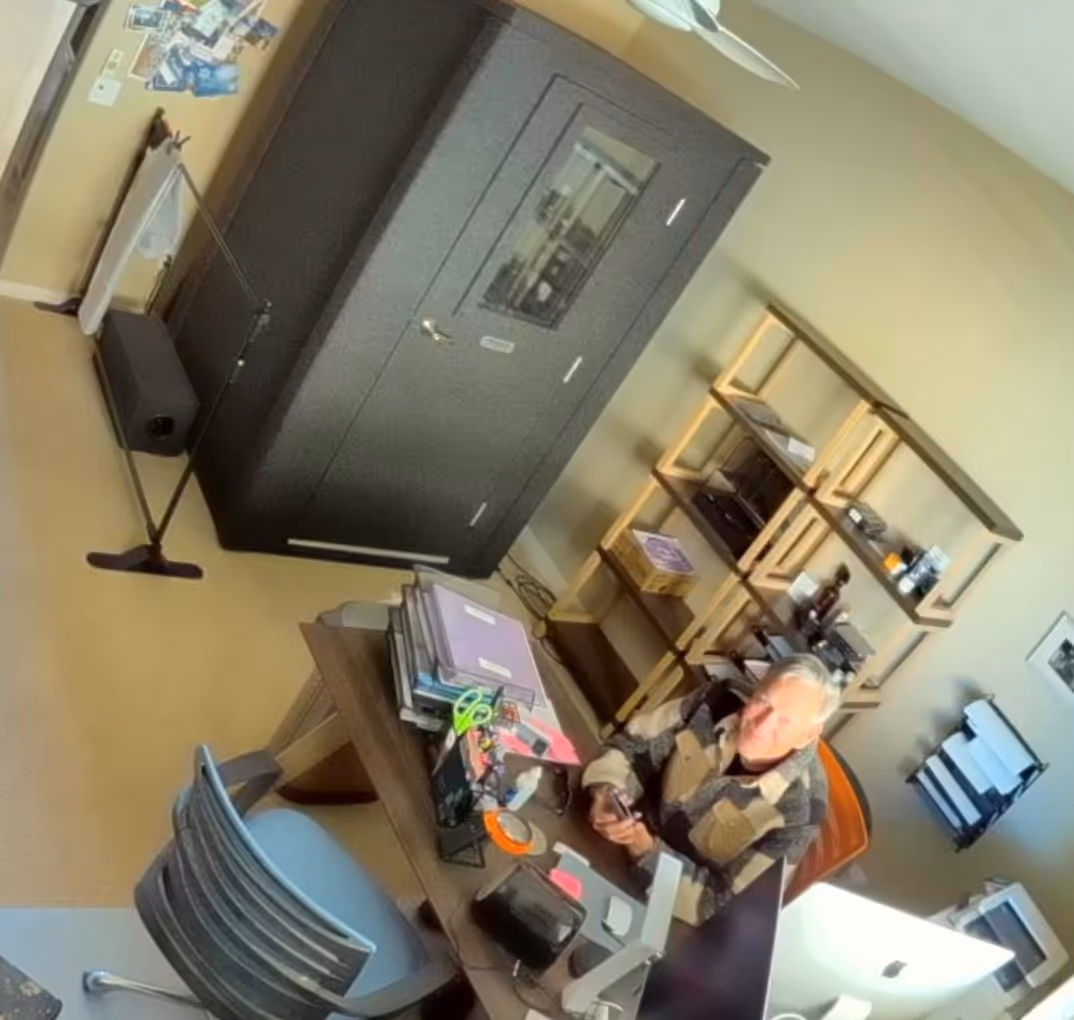
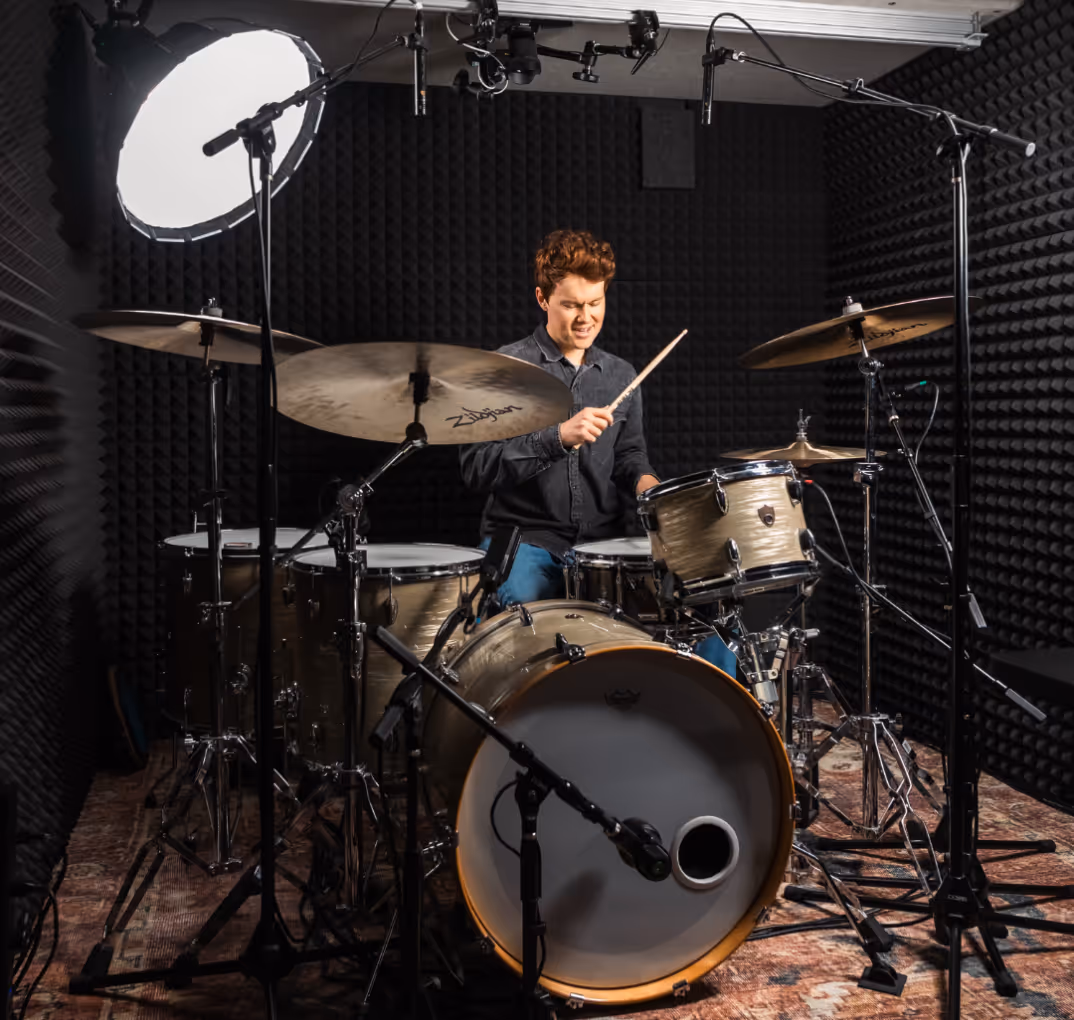
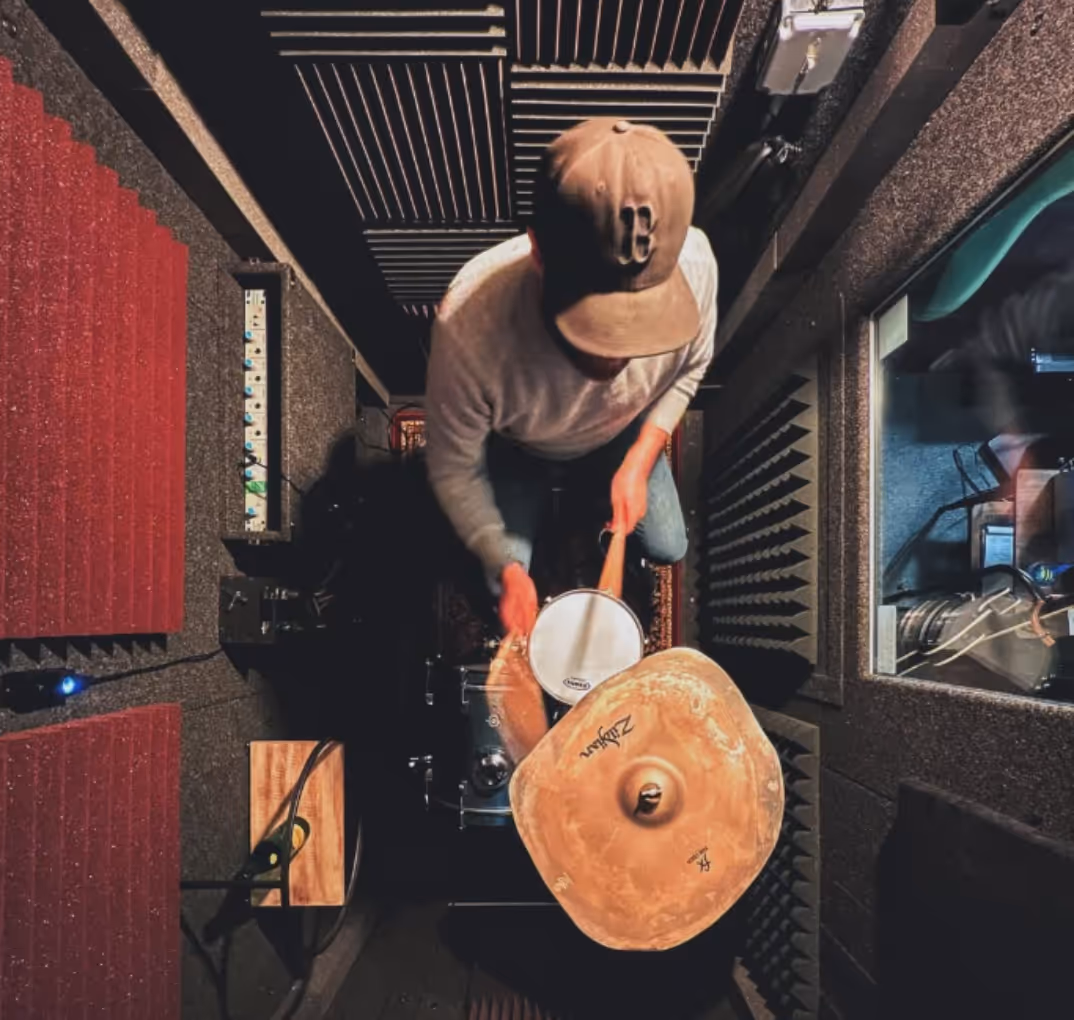
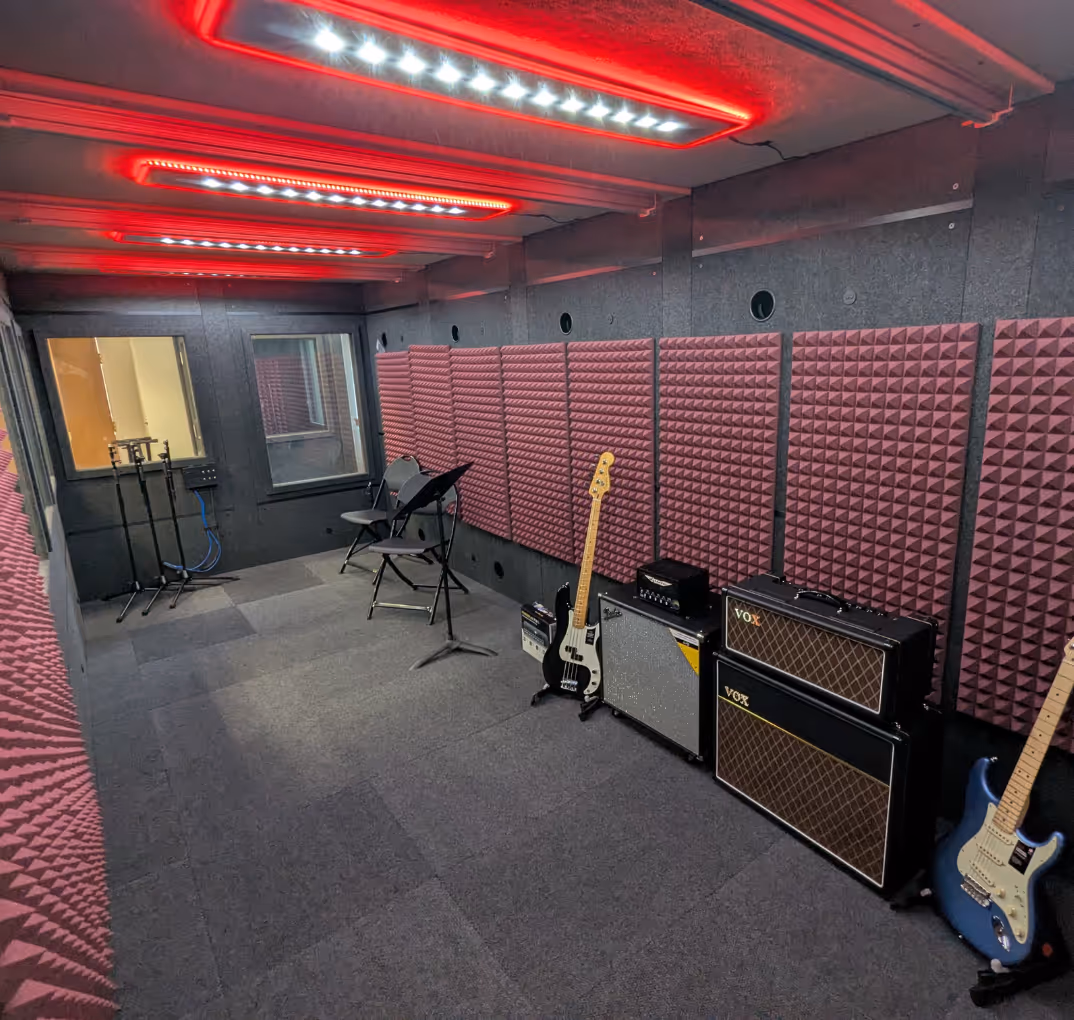
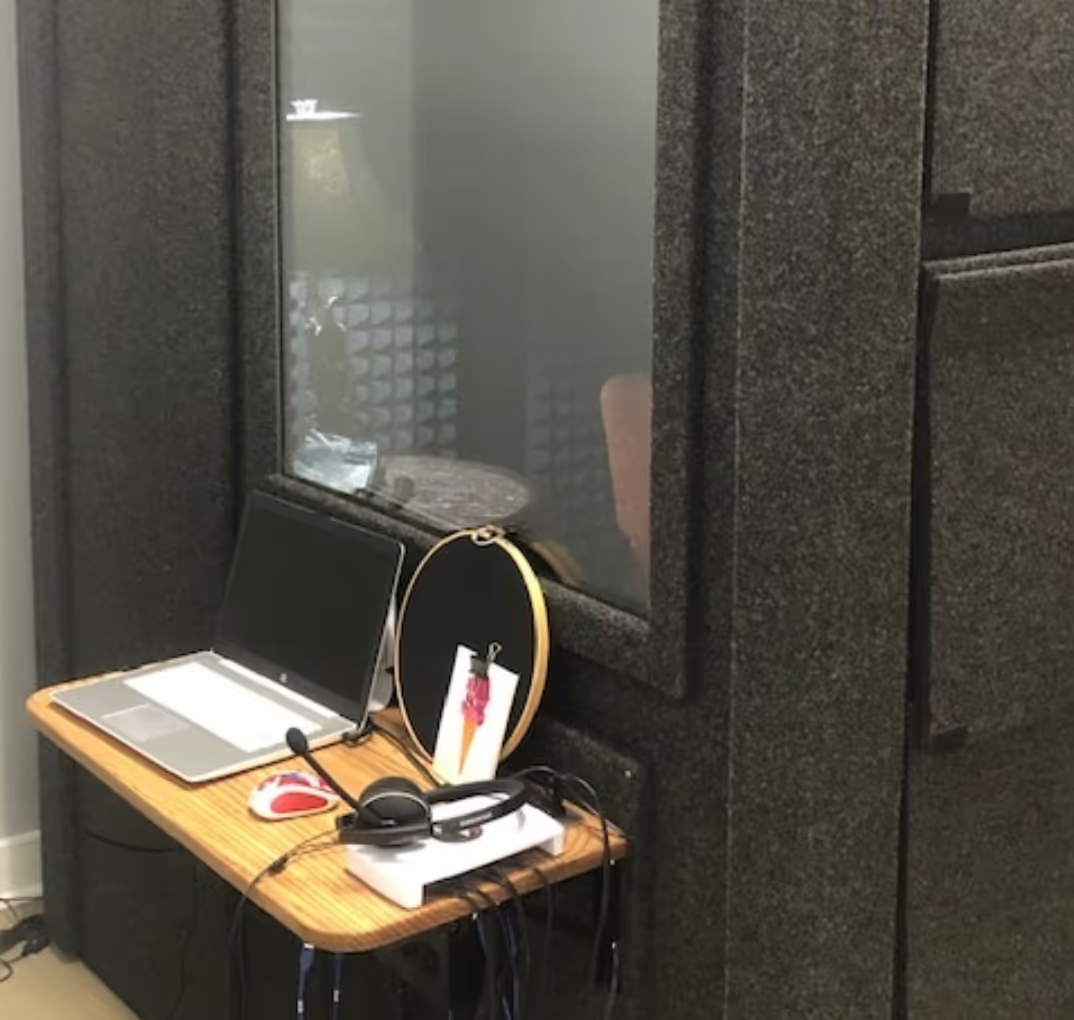
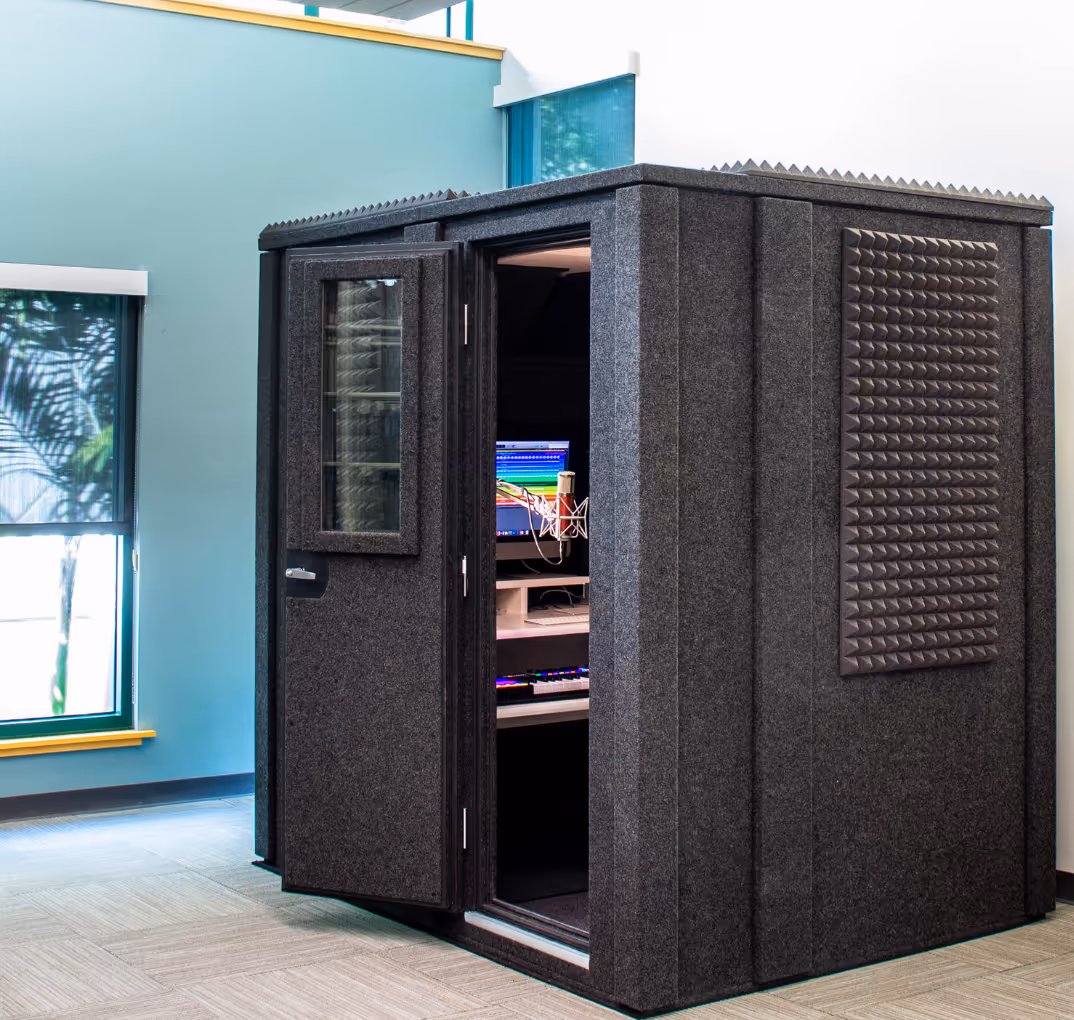
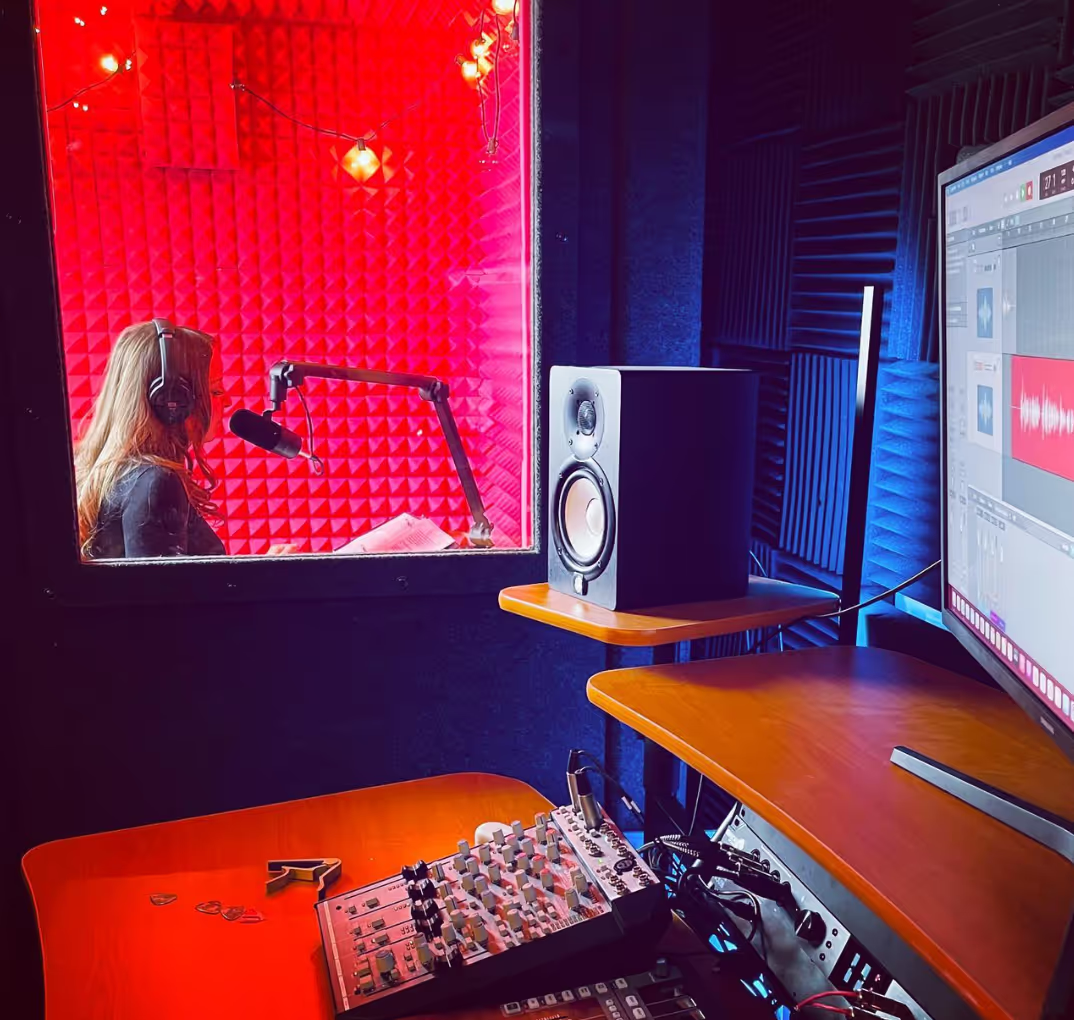
- 🧱 Use a vocal booth like WhisperRoom to block noise and prevent reflections
- ❄️ Turn off fans, HVAC units, or buzzing electronics before recording
- 🚪 Close windows and doors, and use blackout curtains or rugs to dampen sound
💡 Pro Tip: Want to go deeper into setup? Check out 5 Tips for Tracking Vocals for practical ways to improve your vocal chain and workflow.
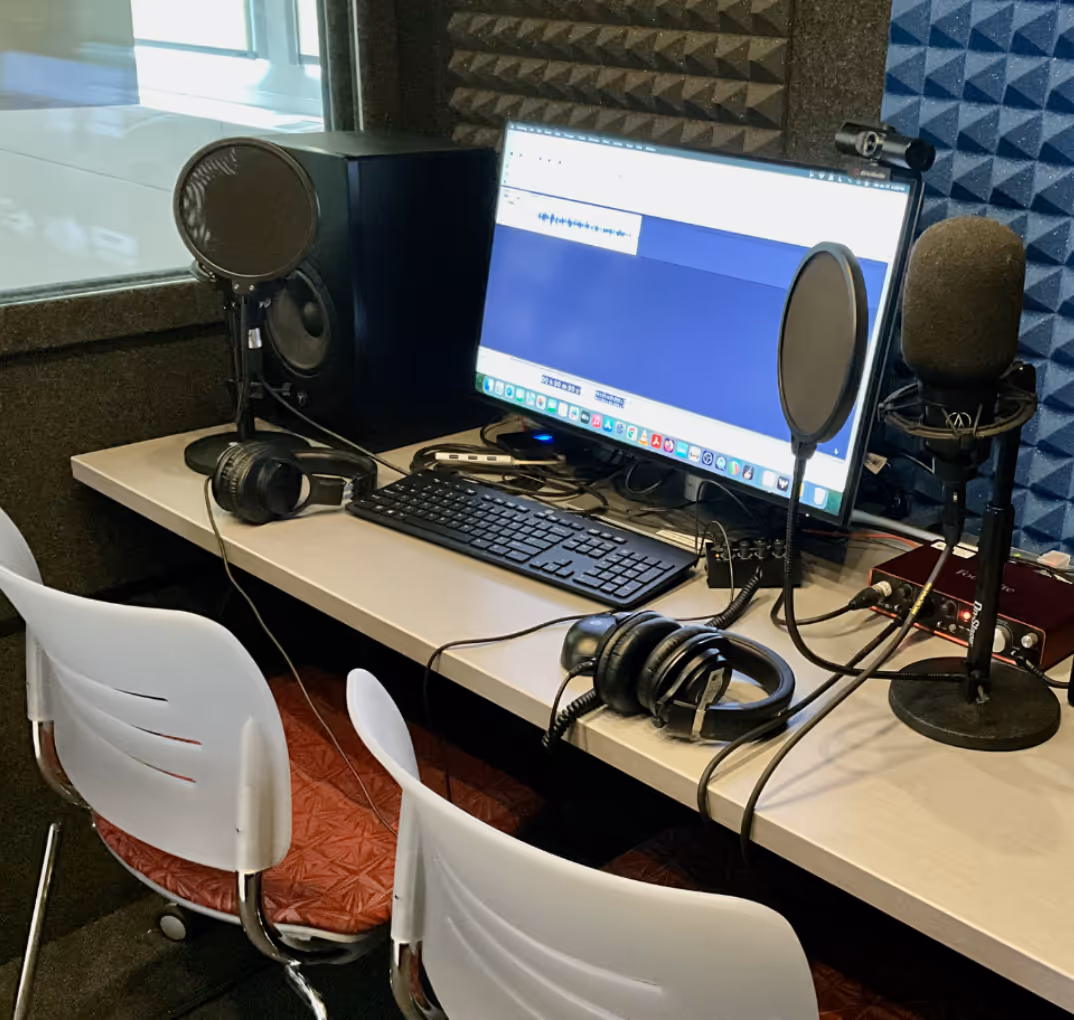
2. Select the Right Mic and Accessories
Your microphone setup can make or break vocal quality.
Recommended gear for clean vocal tracking:
- Use a large-diaphragm condenser microphone for accurate vocal capture
- Add a pop filter 2-6 inches from the mic to reduce plosives and breath blasts
- Use a shock mount to isolate the mic from desk vibration or handling noise
- Position the mic slightly off-axis to reduce direct airflow and sibilance
💡 Pro Tip: Attach the pop filter just in front of the mic — not touching — and position your mouth 3-6 inches from the filter depending on vocal tone and proximity effect. Always clamp it securely to your mic stand.

3. Master Your Mic Technique
Even with the best gear, poor technique will compromise your sound.
Improve your performance with these mic technique tips:
- 📏 Keep a consistent distance of 6-12 inches from the microphone
- 🔄 Angle the mic slightly to the side to minimize harsh "P" and "S" sounds
- 💨 Practice breathing techniques to avoid sharp, audible inhales
- 💺 Maintain upright posture to support clear, steady airflow
💡 Pro Tip: Want a brighter or deeper tone? Slightly tilt the mic upward for added brightness, or angle it downward to emphasize the low end.
4. Address Common Recording Issues
Eliminating common noise issues is key to clarity.
Here's how to fix distracting sounds:
- 🌬️ Breathing sounds: Edit out or reduce with plugins like iZotope RX or manual automation
- 👄 Lip smacks and mouth clicks: Stay hydrated and avoid dairy or sugary drinks
- 🏠 Room reverb: Use reflection filters, proper acoustic treatment, or sound booths to tighten your vocal capture
- 👕 Clothing noise: avoid wearing noisy materials or jewelry during takes
💡 Pro Tip: Keep a glass of room-temperature water and lip balm nearby. Hydration reduces clicks, and your DAW can help trim any that sneak through.
Producer Jon Sine shares his way of dealing with breathing and pop sounds.
5. Use Post-Production Tools Effectively
Post-processing refines your performance into a final, polished vocal.
Core editing tools to master:
- EQ: Gently roll off below 80Hz to reduce muddiness and enhance clarity
- Compression: Smooth out dynamic peaks while keeping vocals expressive
- De-essing: Target harsh "S" sounds in the 4-8 kHz range with a de-esser plugin
- Noise reduction: Remove hums, buzz, and background interference without over processing
💡 Pro Tip: Check your room for hums caused by ground loops or radio frequency interference (RFI). Use a single power strip for all gear, and keep cell phones away from your mic and interface during takes.
6. Minimize Breathing Sounds for a Cleaner Take
Breathing is natural—but it shouldn't distract the listener.
Best practices for minimizing breath noise:
- Practice breath control: Exhale slowly and evenly between phrases
- Turn your head slightly away from the mic when breathing
- Manually automate or reduce breath volume in your DAW
- Adjust mic placement to reduce breath pickup and proximity effect
💡 Pro Tip: Treat breathing like part of the performance. Practice it deliberately before recording long voiceover scripts or sung phrases.
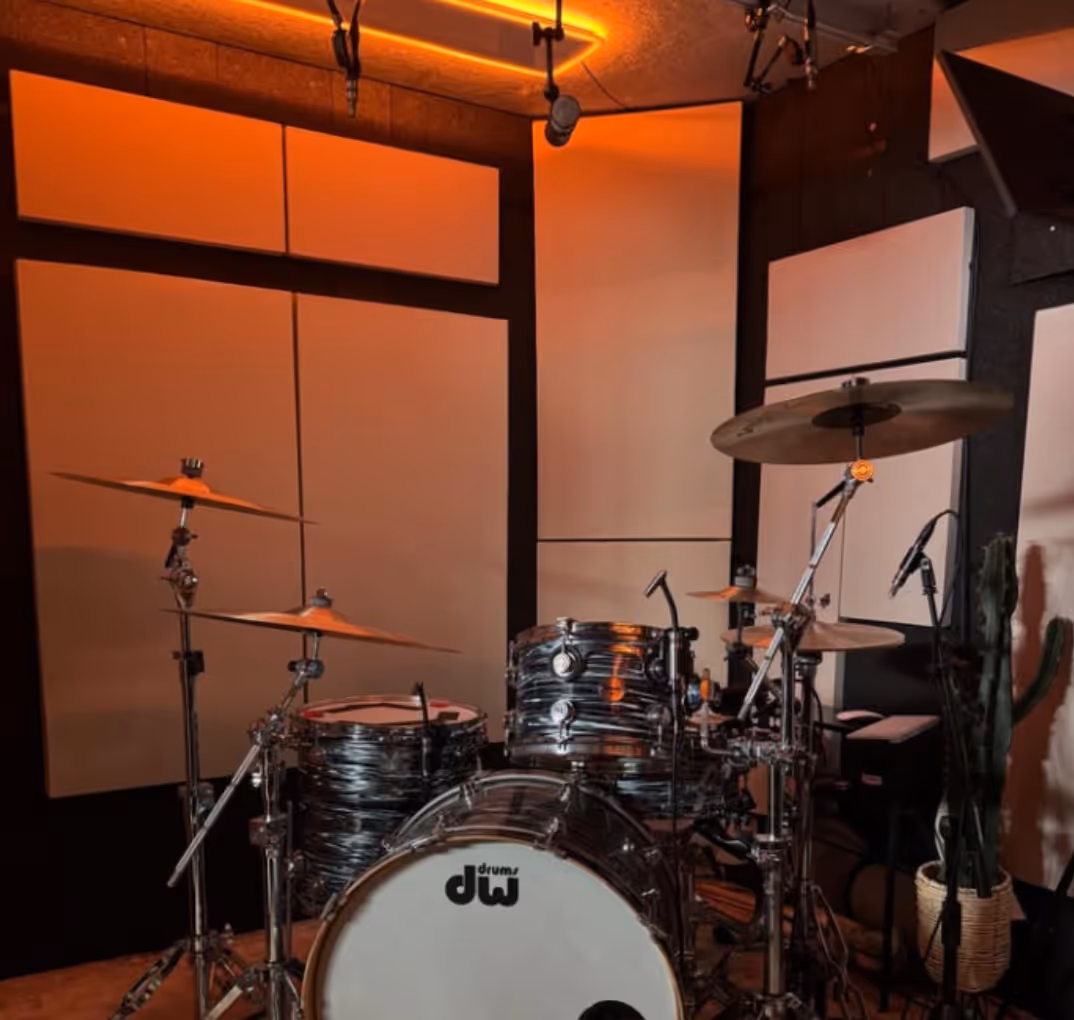
7. Treat Your Space for Pro-Level Clarity
You're recording environment plays a major role in capturing clean vocals.
Upgrade your setup with acoustic treatment:
- Use foam panels, diffusers, or bass traps to reduce reflections
- Add a vocal shield or portable booth to control sound spill
- Consider some kind of sound isolation like a WhisperRoom booth for professional-grade isolation at home
💡 Pro Tip: Even if you're not ready for a sound booth, small changes like rugs, bookcases, and wall hangings can dramatically cut reverb in untreated rooms.
FAQs About Clean Vocal Recordings
Q: How can I reduce background noise in my home recordings?
A: Record in a sound-treated room or use a WhisperRoom isolation booth. Close windows, turn off appliances, and avoid reflective surfaces.
Q: What's the best microphone for recording vocals at home?
A: A large-diaphragm condenser mic is ideal for capturing the clarity and nuance of the human voice.
Q: How do I stop my mic from picking up breathing?
A: Position your mic slightly off to the side and use a pop filter. Control your breathing technique and use plugins to reduce noise.
Q: How do I remove mouth clicks and lip smacks?
A: Stay hydrated, apply lip balm, and edit with a de-click tool. Zoom in on waveforms to manually cut lingering clicks.
Q: Why do I hear buzzing or hissing in my recordings?
A: Buzz is often from ground loops—plug all gear into one outlet. Hiss may come from poor cable shielding or RF interference. Use shielded XLRs, keep phones away, and shut off nearby electronics.
Q: Can I achieve studio-quality vocals from home?
A: Yes—with proper mic technique, acoustic treatment, and post-processing, you can record pro-level vocals in your home studio.
📌 Final Thoughts
Capturing clean vocals takes more than just pressing 'record'—it's about preparation, precision, and control.
✅ Optimize your space before recording
✅ Choose gear that matches your voice and room
✅ Use proper mic technique and breath awareness
✅ Edit strategically with plugins and automation
✅ Troubleshoot background issues early
With consistency and the right setup, your vocals will stand out—crisp, clean, and ready to share.
Remember:
- Start with a quiet, treated recording space
- Use the right mic and accessories
- Practice mic technique and breath control
- Edit with intention using high-quality plugins and automation
With the right setup and strategy, your vocals will sound clean, crisp, and professional—ready to impress on any platform.
🧠 Next step: Explore our article 9 Ways to Take Care of Your Voice for additional vocal tips.


.avif)
.avif)
.avif)

.avif)
.avif)

.avif)
.avif)
.avif)
.avif)
.avif)
.avif)
.avif)
.avif)
.avif)
.avif)
.avif)
.avif)
.avif)
.avif)

.avif)
.avif)


.avif)